
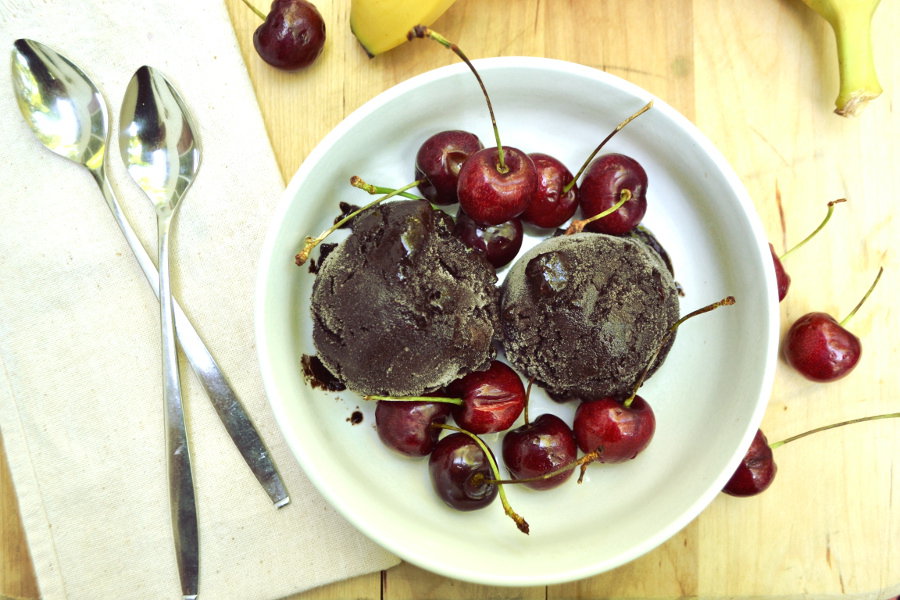
This Chocolate Cherry Ice Cream is nutritious, sugar-free, dairy-free, vegan ice cream. Made with just 3 ingredients – bananas, cocoa powder and cherries. Creamy, delicious, guilt free and so simple to make! This post may contain affiliate links and/or Amazon affiliate links. As always, all opinions are my own. Thanks for reading & thanks for…
Healthy(ish)
Sardine Pasta
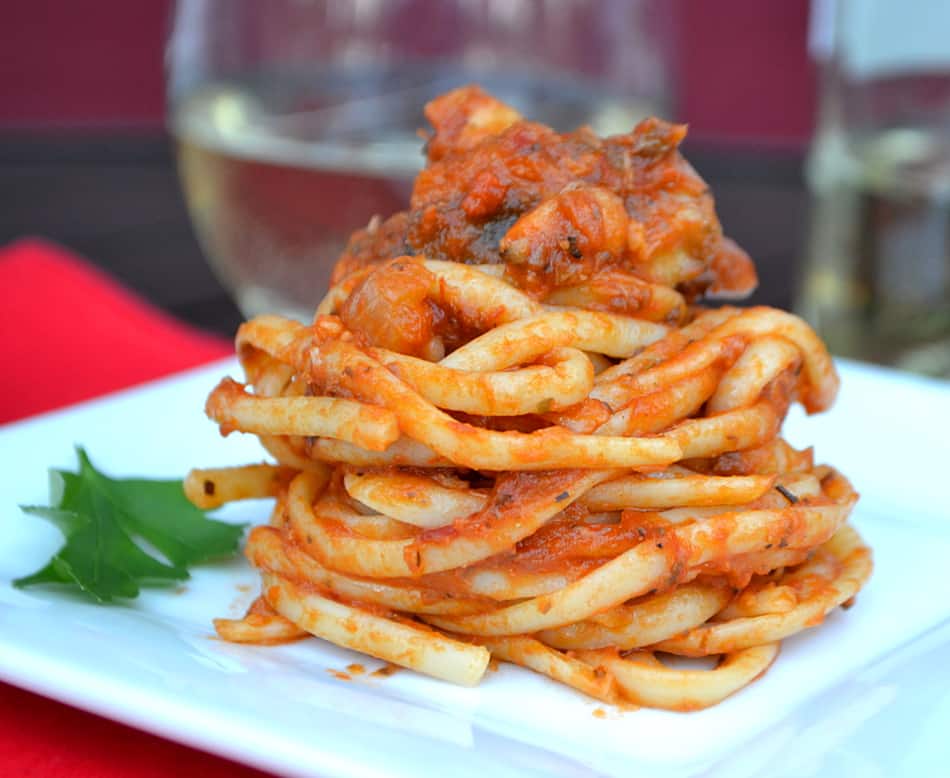
Spicy Sardine Pasta! A flavorful spicy Italian tomato sauce with just the right amount of heat made from tinned sardines and basic pantry staples. Here’s to a quick, simple & delicious dinner! This post was sponsored by Season Brand Sardines. This post may contain affiliate links and/or Amazon affiliate links. All opinions are my own….
Perfect Easy Peel Hard Boiled Eggs
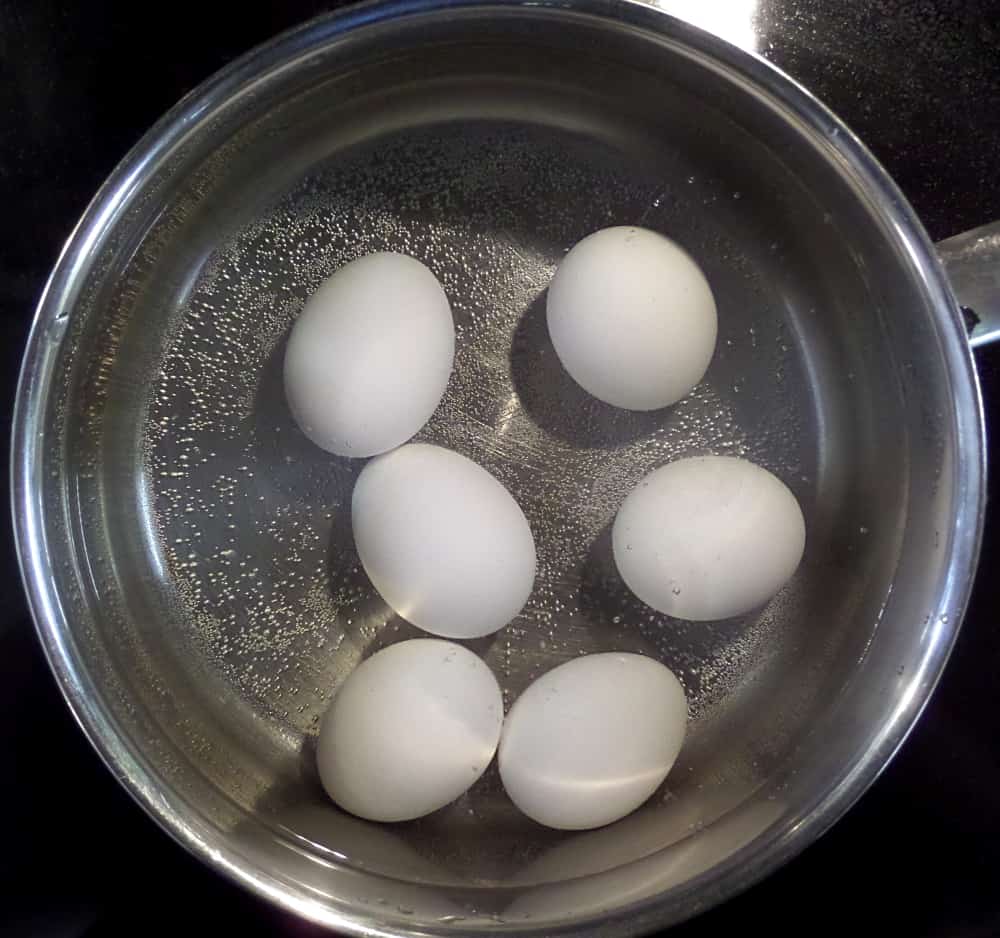
A simple method for Perfect Easy Peel Hard Boiled Eggs. Cooked perfectly (no gray-green yolks) and shells just about slide off! This post may contain affiliate links and/or Amazon affiliate links. As always, all opinions remain my own. Thanks for reading & thank you for your support! Post was originally published 2/14/15. Updated 1/30/25. Rethinking…
Hard Boiled Quail Eggs
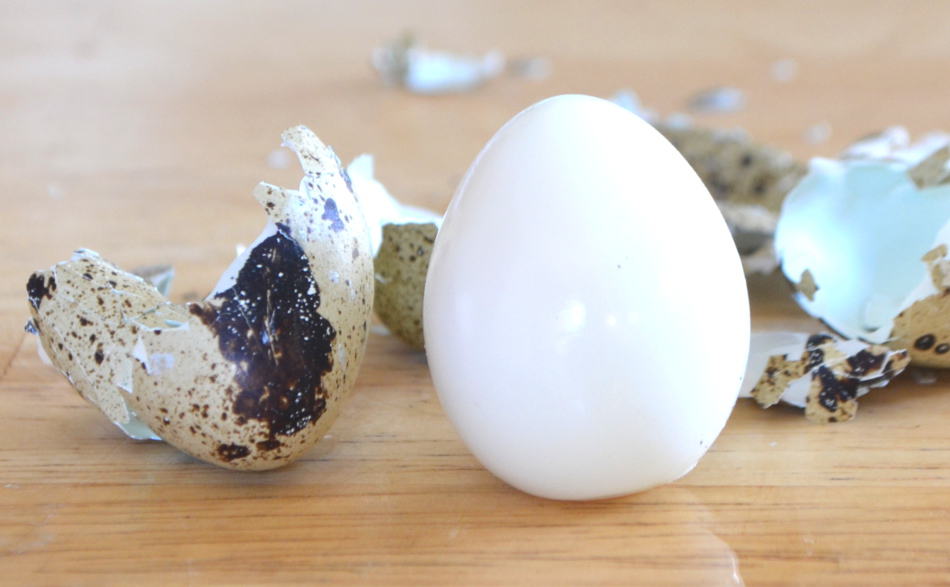
How to cook hard boiled quail eggs, peel & crack quail eggs and other quail egg stuff you need to know. This post contains affiliate links and/or Amazon affiliate links. As always, all opinions remain my own. Thanks for reading & thanks for your support. Post was created 3/8/17. Updated 1/21/25. All About Quail Eggs…
Cottage Cheese Blue Cheese Dressing
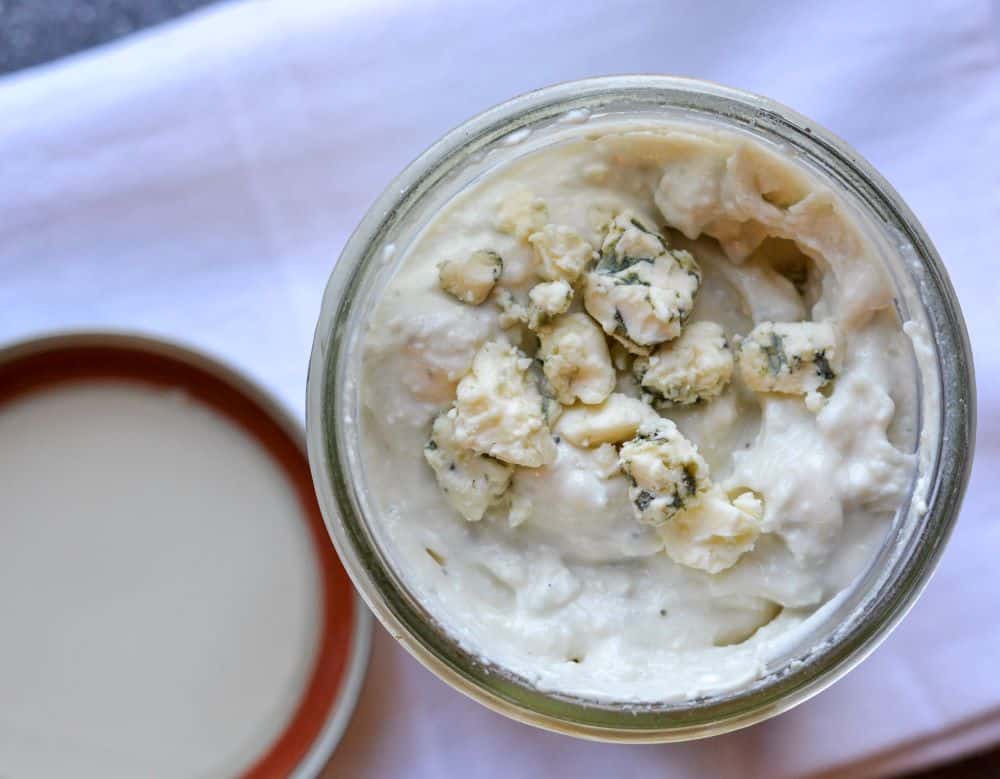
Try this delicious & much better for you No Mayo Cottage Cheese Blue Cheese Dressing & Dip. Quick & easy to make. No seed oils, no mayo, no nonsense ingredients. This post may contain affiliate links and/or Amazon affiliate links. As always, all opinions are my own. Thanks for reading & thanks for your support….
Protein Chocolate Mousse

A high-protein chocolate mousse made with quark. This mousse is rich, decadent, delicious & filling! Enjoy it guilt-free as a dessert, snack or meal! This post may contain affiliate links & Amazon affiliate links. As always, all opinions remain my own. Thanks for reading & thanks for your support! Originally published 5/13/2015. Post updated 10/10/24…
Ginger Cucumber Salad
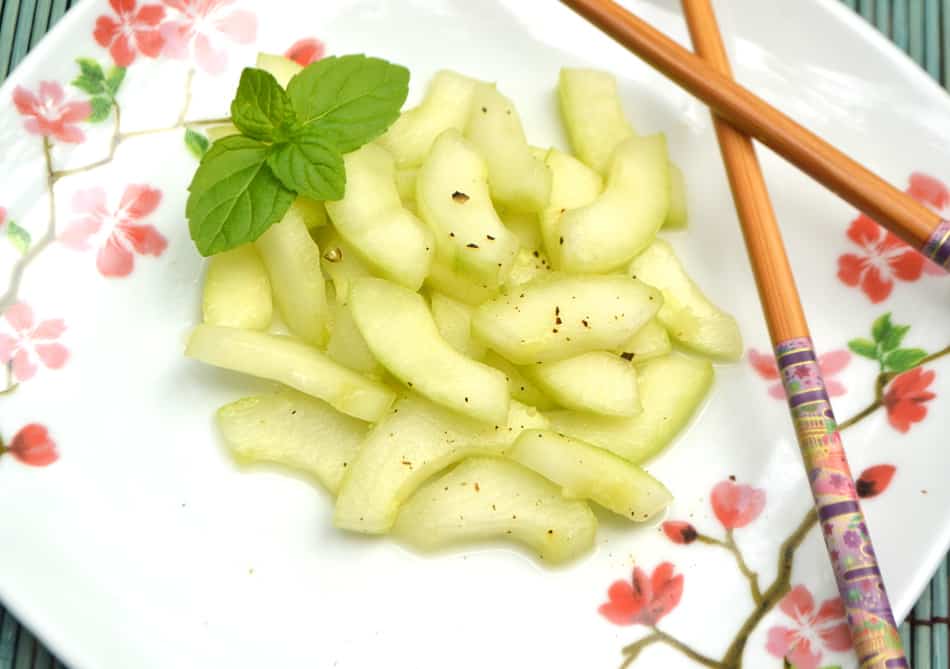
A bright, cool, crisp light Ginger Cucumber Salad. Made with just a handful of simple ingredients. Fresh & flavorful recipe for summer’s bounty. Originally posted 7/5/16. Updated 3/22/24. A Summer Bounty of Cucumber I love cucumbers. They’re easily my favorite vegetable. I love them plain, with a a sprinkle of salt, sliced served with dips…
Honey Vinaigrette
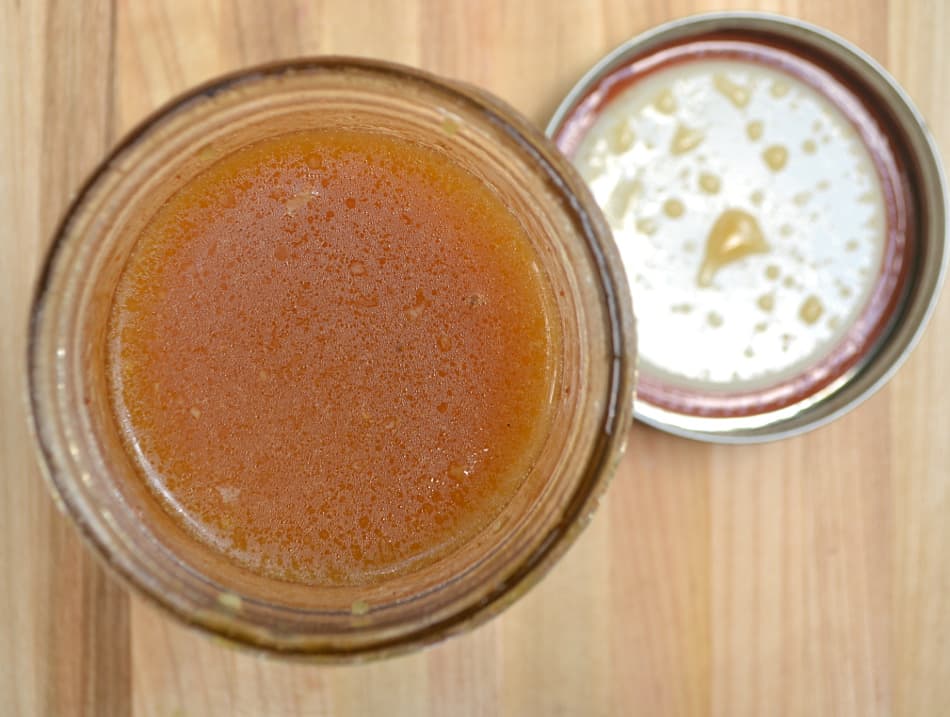
This crisp, sweet & tangy Honey Vinaigrette made with raw honey & apple cider vinegar takes just a minute to mix together. Great on salads & veggies! Fresh Salad Dressing Flavors Salads are a mealtime staple in my home. Lunch is often a simple garden salad, nothing fancy, nothing extravagant. Crisp greens, a hard boiled egg and…
Mango Sorbet

This sweet, creamy & simple Mango Sorbet is made with just 2 ingredients and NO added sugar! It’s healthy, delicious, vegan & simple to make with just a food processor. One of my favorite non-dairy frozen treats! Sorbet & Ice Cream Made From Fruit Remember the one ingredient banana “ice cream” craze? Really – the…
Greek Yogurt Caesar Dressing
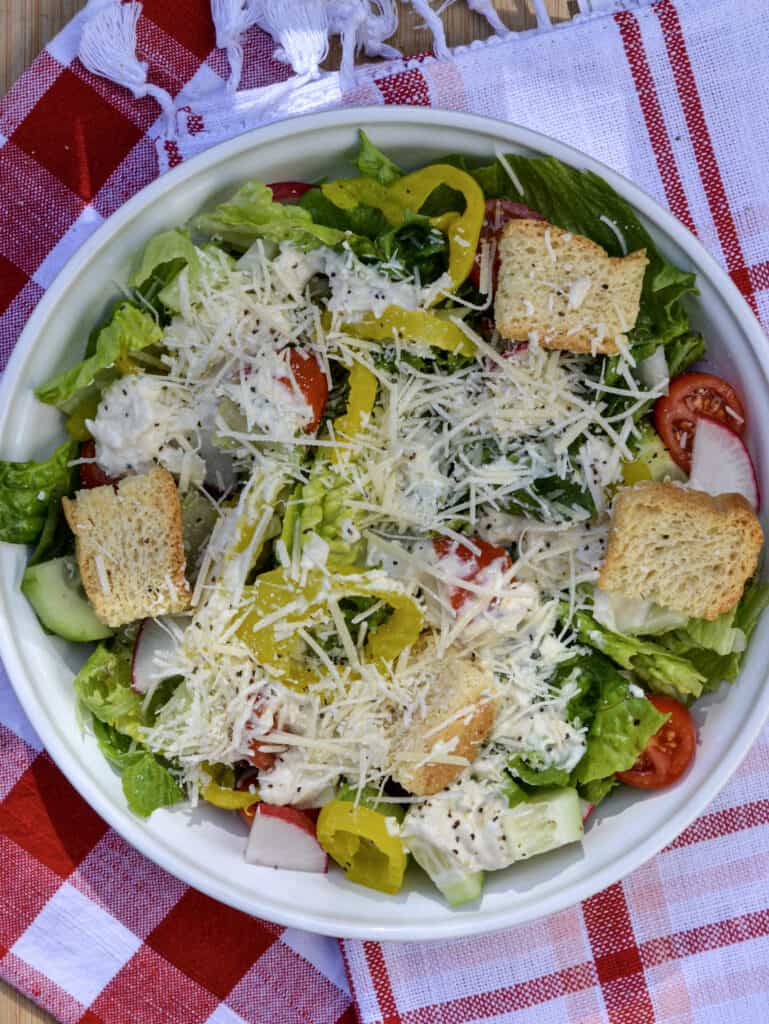
A simple, delicious & good for you Greek Yogurt Caesar Dressing. Loaded in flavor & protein with no seed oils – go ahead and enjoy a healthy salad dressing (or veggie dip)! Homemade Salad Dressing Without The Seed Oils We should all be trying to eat as whole as possible. This doesn’t mean we have…